Oh yes I did.
These are ice cream bars. They are for all your spring/summer picnics. They are for when your kids’ friends come over hungry. They are for those times when your family is begging you for crud food. They are for those nights when all you want to do is eat ice cream under the bed (take a napkin).
I have lots of fond, sugar-filled memories of ice cream. Eating gigantic ice cream bars or ice cream sandwiches on the deck with my friends during the 3 weeks that it is actually warm here in the Midwest, slurping ice cream floats at A&W or while watching Finding Nemo, and of course topping my ice cream sundaes with tons of candied cherries (and enduring the disastrous sugar drop that inevitably followed). One of my most memorable memories (yes, I know that’s redundant) is when Mom got me my first Dairy Queen Dilly bar. The thing seemed bigger than my head. I recently saw a Dilly Bar and it seems they’ve shrunk considerably since I last ate one.
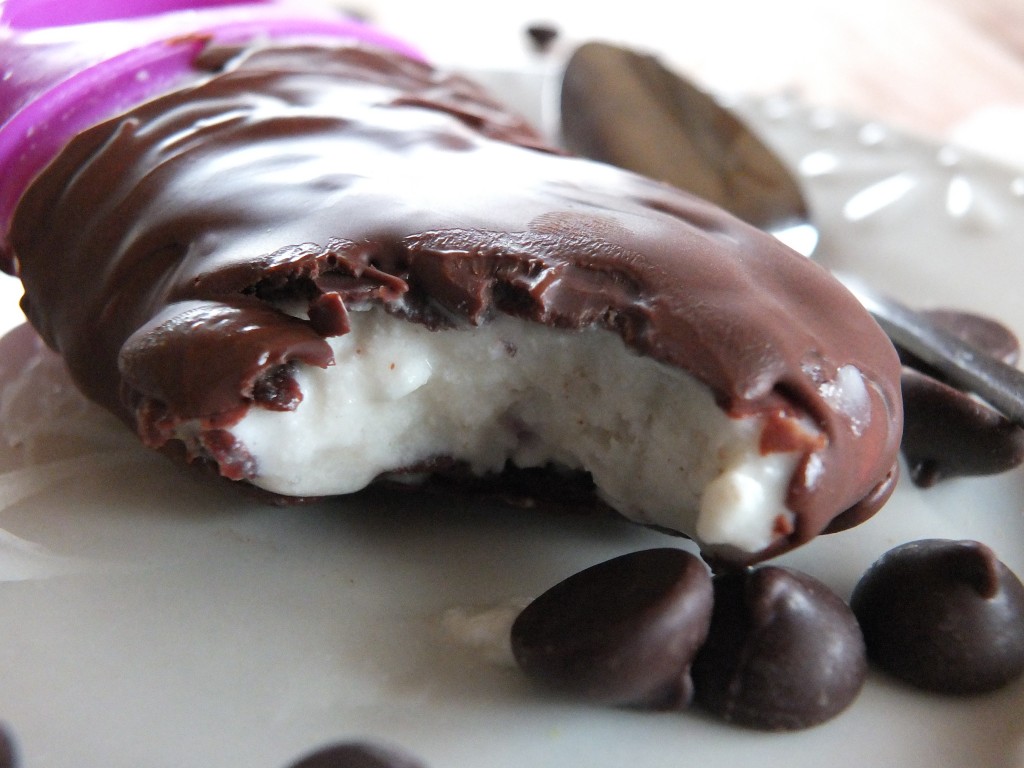
Anyway, these ice cream bars are creamy and vanilla-y (that is totally a word) with a crispy dark chocolate coating. They are paleo, primal, dairy-free, nut-free, and egg-free. But above all, they are kid-and-dad approved.
Recipe Notes:
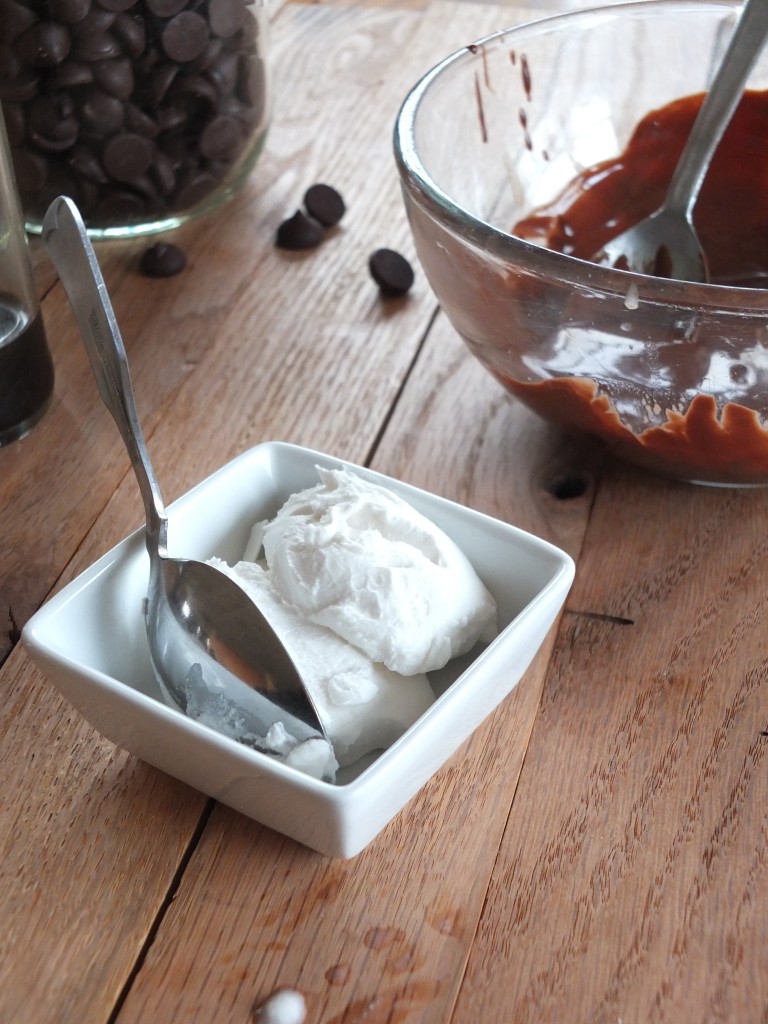
- Regarding coconut cream: Coconut cream is the super-creamy stuff that rises to the top of a can of coconut milk when it separates. To ensure adequate separation, place your cans of coconut milk in the fridge overnight before making this recipe. Also, choose a brand of coconut milk that has a lot of fat in it, because it will yield the highest amount of cream. My favorite for this recipe is Golden Star, and my second is Thai Kitchen. Depending on the cream content of your coconut milk (which varies even within brand), you may need up to 3 cans of coconut milk to yield the correct amount of coconut cream for this recipe, so buy accordingly.
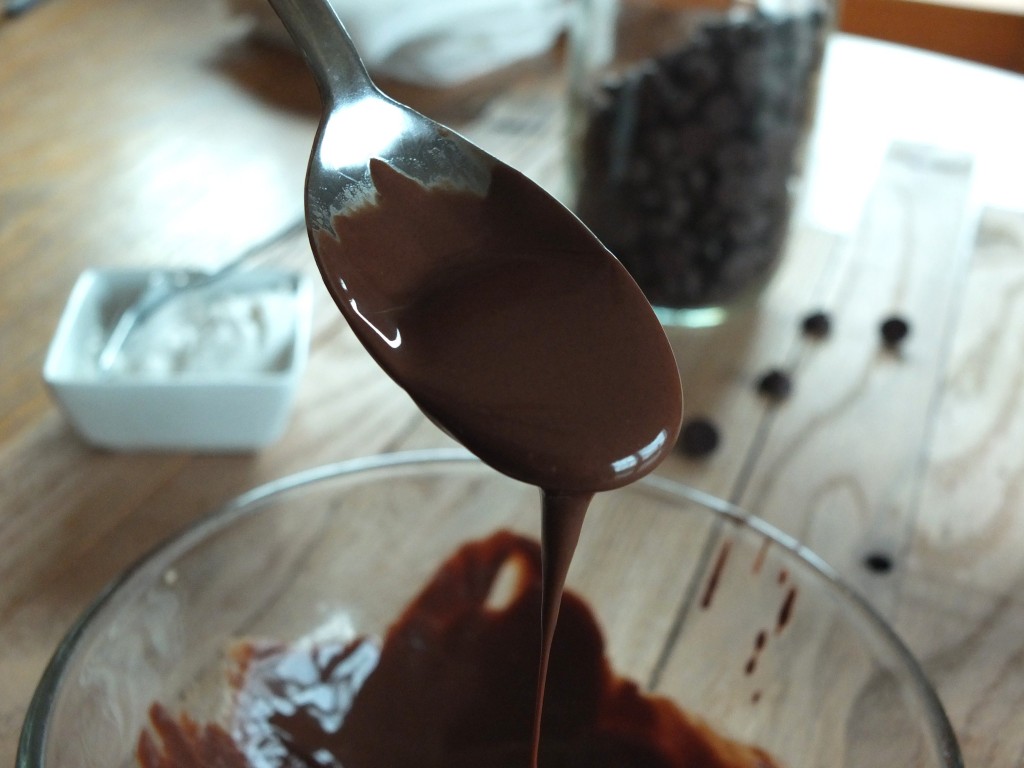
- Also, a note on melting chocolate: I learned the hard way while developing this recipe (as well as several others) that chocolate seizes if it gets overheated. So only heat the chocolate very slightly, preferably in the microwave or a double boiler. This will also prevent the warm chocolate from melting the ice cream pops.
- Make sure your ice cream pops are completely frozen before you try to coat the with chocolate. Leave them in your freezer overnight before coating them, if possible. Again, I speak from experience here.
- You’ll notice that the ice cream pop recipe calls for 1/4 teaspoon salt; do not omit it! It does not make the finished product salty, it simply slightly lowers the freezing point of the mixture so that the ice cream bars and creamier. It’s all chemistry!
- The yield of this recipe will obviously vary depending on the size of your popsicle molds. I got 6 ice cream pops; my molds are 1/4 cup volume.
- If your coconut cream is super-solid from being in the fridge, let it soften up before trying to blend it.
 Shared at Fat Tuesday and Fight Back Friday.
Now let’s make ice cream bars!
- Ice Cream Pops:
- coconut cream – 1-1/2 cups
- pure maple syrup – 3 tablespoons
- pure vanilla extract – 1 teaspoon
- salt – 1/4 teaspoon
- Coating:
- dark chocolate chips – 3/4 cup
- coconut oil – 2 tablespoons
- For the ice cream pops: In a blender, combine all the of the ice cream pop ingredients. Blend on medium speed for about 1 minute. The mixture will thin out considerably.
- Spoon into popsicle molds and place popsicle sticks or the equivalent in the pops.
- Freeze until very solid, preferably overnight.
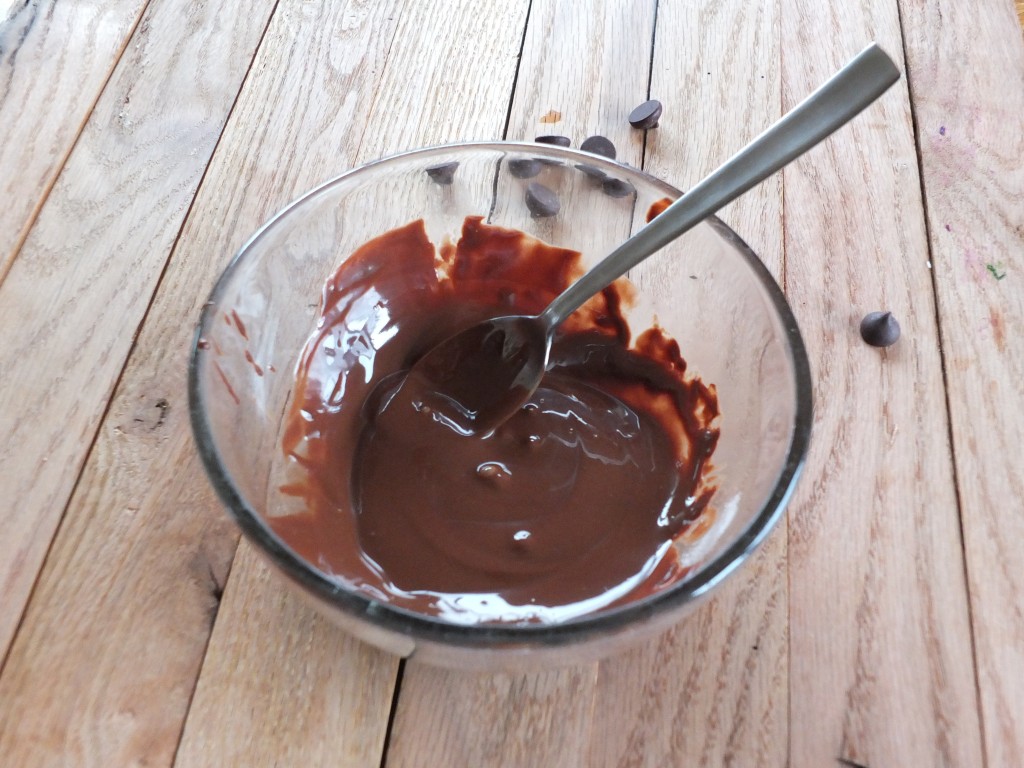
- For the coating: To a microwave-safe bowl, add the chocolate chips (or chopped dark chocolate, if you prefer) and coconut oil. Microwave on HIGH in 30-second bursts , stirring well in between. Try to microwave the chocolate the least amount of time possible; two 30-second bursts should be all you need. Make sure the chocolate is only slightly warm before coating the ice cream pops.
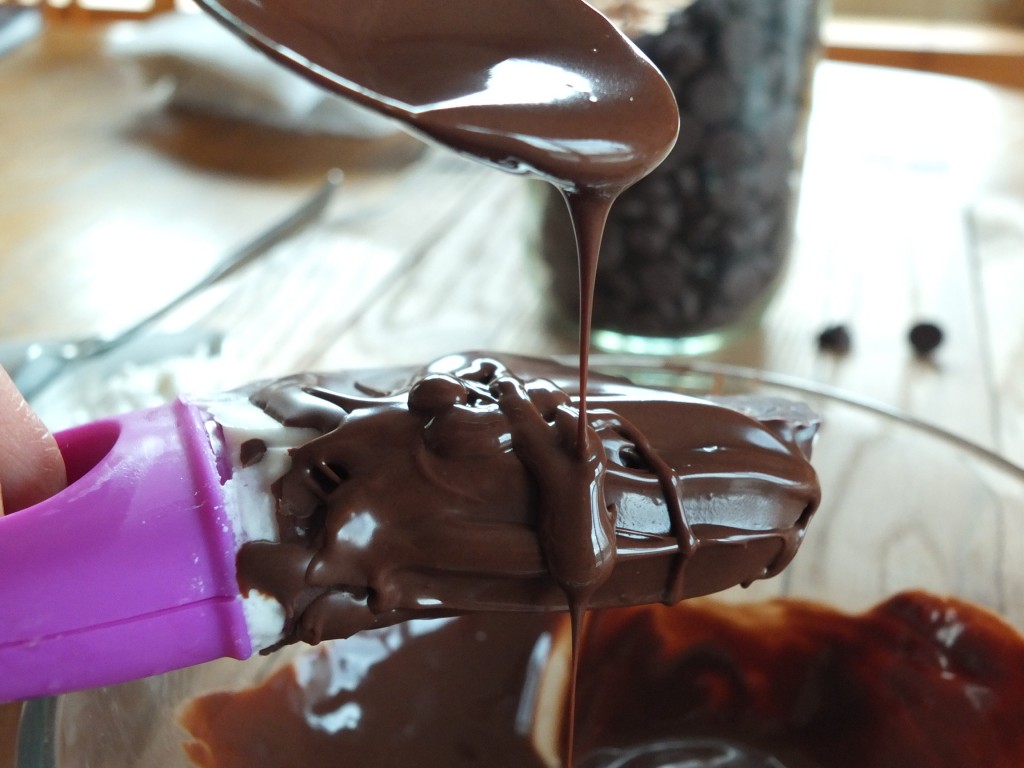
- Carefully remove the ice cream pops from the molds by briefly running hot water over the mold. Use a spoon to drizzle and spread the chocolate coating over the pop.
- Immediately place each coated ice cream bar on a parchment-paper lined baking sheet in the freezer.
- When the coating is hard, consume immediately or store in an airtight container in the freezer!




These look so good! But now it’s cold:( Maybe I’ll make them anyway.
Hi Heather. These look super yummy! Perfect for how hot it is right now
Audrey they are so amazing and now that you mention it, I will probably make them again because man it is hot!
The weather is finally getting warm here, these look like the perfect treat!
Naomi they are so delicious!
These look delicious!! I will definitely have to try them, especially with the hot summer coming up!
Lauren they are delicious! Enjoy!
These look really good and going to give them a try!
Let me know how you like them